Just a photo to let you see how it turned out. The photo doesn't really do it justice, it's much darker in person. Unfortunately, a photo taken in the shade is too dark. Thanks both of you for your help in making this possible.
Michael
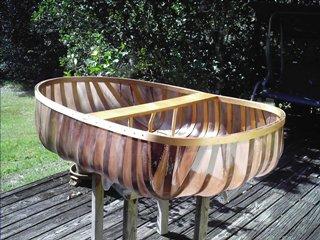
Here's the frame of my Tywi River version of your coracle. I learned an awful lot. I used 4mm okoume which doesn't bend very well, at least I never got it to "spaghetti"! The heat started to make it check so it doesn't flow as nicely as yours. I also should have taken your advice on the oil. I used epoxy on the bottom and the edges of the ply to seal those edges and oil on the inside. Of course the epoxy flowed into the inside and cooked into little bubble masses. For the cover I'm going to use ballistic nylon with urethane, like the skin kayak folks. The urethane is on backorder so I'm going to use a billboard skin as a temporary cover to see how it floats.
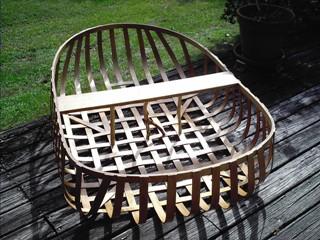
Other details; the seat is only 6" wide but I'm tall and thin. It's rock maple and the seat supports are live oak I cut off our trees. Note the tumblehome forward, hopefully that will make it a little easier to get into and control. The Tywi is also longer and blunter of bow which will make it float higher, I'm afraid. Thank you once again for posting this great project. Once I get final the skin on it I'll send another photo, hopefully in the water!
Michael
Florida

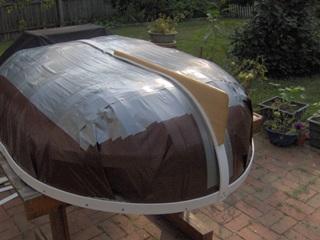
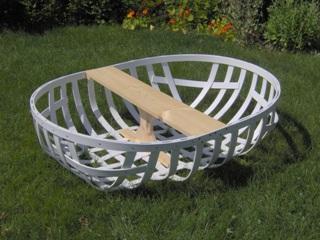
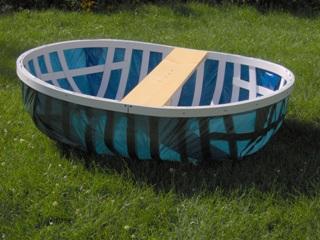
Please let me compliment you on your website, and the quality of your plans. I've built several skiffs and dinghies over the years. The coracle plans struck my fancy, as I've wanted to try one for some time and they are intriguing from a historical perspective. Despite the abundant lumber resources in this country (USA) it's very difficult to get decent boat grade wood, at least locally. So I opted for the non-traditional approach and used vinyl lath for the frame and a 10 mil tarp for the hide (see attached pix). Of course I had to make some adjustments due to thickness and width, but the end result is fairly close to your plans. It took me about a day and a half, and I now think I could finish one in about 5 hours using these materials. It's all screwed together so there's no waiting for glue to dry. Anyway, I put it in the water immediately and found it works quite well. A bit tippy of course but more stable than expected. Naturally it stirred up quite a bit of interest among the local kayakers, none of whom had ever heard of a coracle. I spent as much time explaining the boat as I did paddling. I'll build a proper paddle next, from your plans, but I don't expect I'll ever get the hang of the figure eight stroke! I thought of putting a removable fin of some kind on the "stern" so it will track slightly and I could then use short kayak paddles, but frankly it's time not distance that matters when you're having fun on the water so why bother? Many thanks again for the plans and advice. I wish you well!
Fred

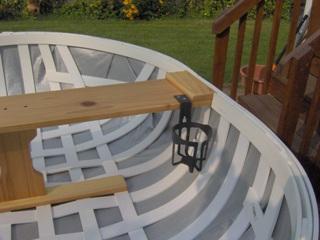
Just one more quick note. I made a second one, same technique and materials, dimensions modified to fit better in my hatchback. Thought you might be interested in two "upgrades" in the attached photos: a small fin which actually improves directional stability (believe it or not!), and a cup holder. It's the little things in life that count. And thanks to your video, I've practically mastered the figure eight stroke. It's all good, and thanks again for the outstanding plans and directions!
Fred